Tuesday, November 6, 2012

Game Gear Boy, part 2 - Power board

The pin out for the power board is shown in the pic below. 


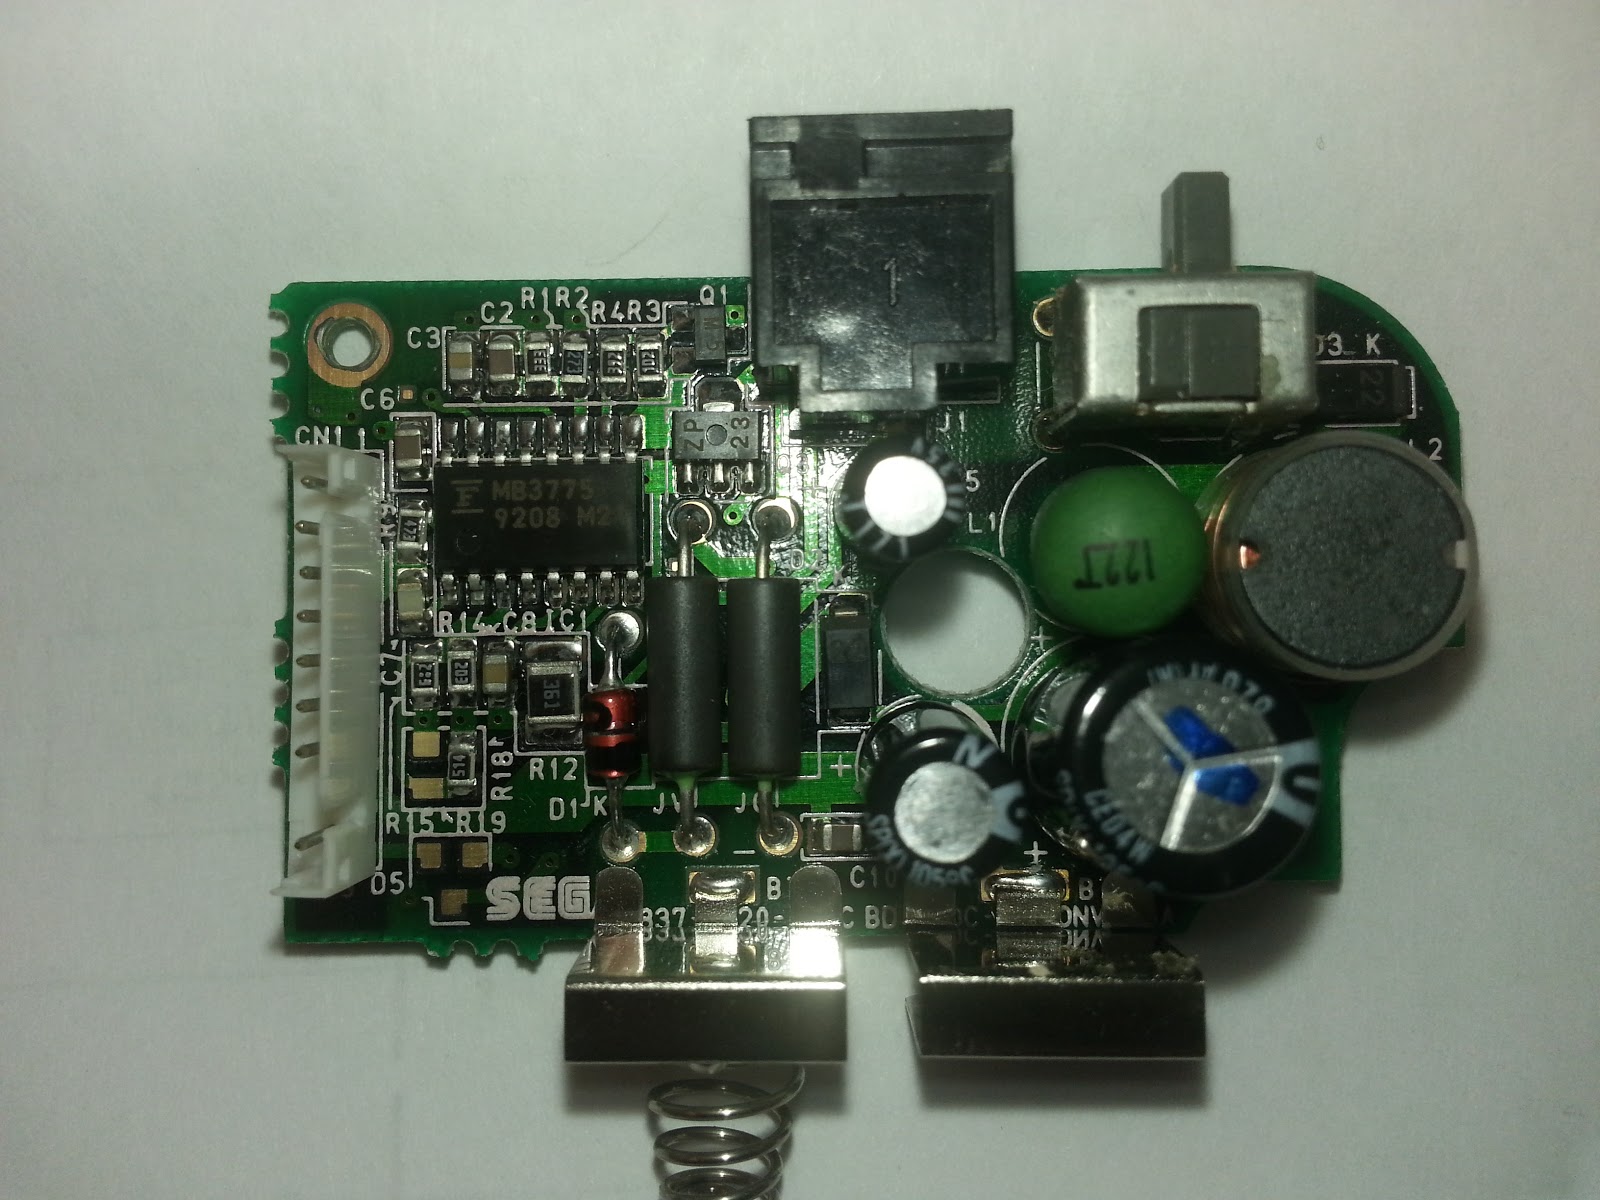
The heart of this power board is the MB3775.  This is a dual PWM switching regulator.  It has a supply range of 3.6V to 18V.  It can have up to two output voltages.  I believe that they are using this regulator to generate the 5V.  According to the datasheet it has a maximum output of +20V.  I think that they using a voltage doubler in order to create the 34V.  Setting the second output voltage to 17V and running it through the doubler would yield 34V.  The 1.28V is a reference voltage created by the MB3775.  The 9V output is the source voltage passed through. 

I was hoping to use the 34V output of this power supply to create the 12V supply for the LCD monitor.  The datasheet says that the maximum output current is 75mA.   This will not do.

Using the 9V supply as a baseline I found an adjustable boost regulator that will give me 12V at around 1.2A.  The regulator is a MC34063A

Here is the schematic that I made to boost the voltage from 9V to 12V with the maximum current set at 1.4A.  


Here's the PCB layout of the schematic.  It's a simple circuit so I was able to get it all on one layer.


Here's the 3D image of the board with the components populated.


I plan to etch this design in a copper clad board.  I will be posting an article on that after I gather up the materials.

~Todd

Game gear boy, part 1

I was inspired by Ladyada's Game Grrl.  I'm using a Game Gear as the case because it holds 6 AA batteries which will power the NES system perfectly. I am also planning to use the Game Gear's original buttons, power switch, DC input, and speaker.

Here's the original Game Gear I got from ebay for $8 and the NES system from ebay $25:


The disassembly:
It's hard to believe that this is the entire NES system with the controller and 76000 games.  It's smaller than the original NES controller!


The Game Gear has three PCBs inside.  The large main board and two daughter boards.  The smaller boards are input power regulation and an audio amplifier with volume control.  
Audio board
Power board

Main board broken into three pieces.


 The next step was to fit the new LCD screen inside the chassis.  I'm using a cheap 3.5" LCD monitor made for cars.  I got it from ebay for $20.  I like these screens because they are really cheap and run off of 12VDC.  The specs on these screens are hard to come by and I need to do some testing on current consumption later. In order to fit the screen inside the chassis, the original screen mounts needed to be removed.


I decided to leave the LCD inside its plastic case to protect the fragile flex jumper.  The case doesn't add much to the size.  It comes with a ball and socket type mount made for swiveling and I needed to remove it to save space.  The screen is held in place with hot glue.  The new screen is the same size as the original so the change is not that noticeable.  


 Next I cut down the side pieces of the main board in order to save the original buttons.  In the picture you can see the marks I made to trim it down.  The same was done for the other side.
 Here is the Game Gear Boy with the new screen and original buttons.
 That's as far as I got.  My plan is to use those two smaller boards as is.  This would give the game an OEM look.  I need to do some testing on them to see how I will connect to them.  Another thing I'm working on is getting the 12VDC needed for the new LCD screen.  The original power board has a 34V output that I might be able to step down but I'm not sure if the output current is sufficient to power the new screen.  If it is not enough, I did find an adjustable boost regulator that I could easily use.

~Todd


Thursday, November 1, 2012

First post

Hi All,
I'm starting this to keep track of the projects I'm working on.  I have a few going right now and I just got my workbench setup. I'll be posting pics and details about all of them soon.

~Todd