Here's the original Game Gear I got from ebay for $8 and the NES system from ebay $25:


The disassembly:
 It's hard to believe that this is the entire NES system with the controller and 76000 games. It's smaller than the original NES controller!
The Game Gear has three PCBs inside. The large main board and two daughter boards. The smaller boards are input power regulation and an audio amplifier with volume control.
 |
| Audio board |
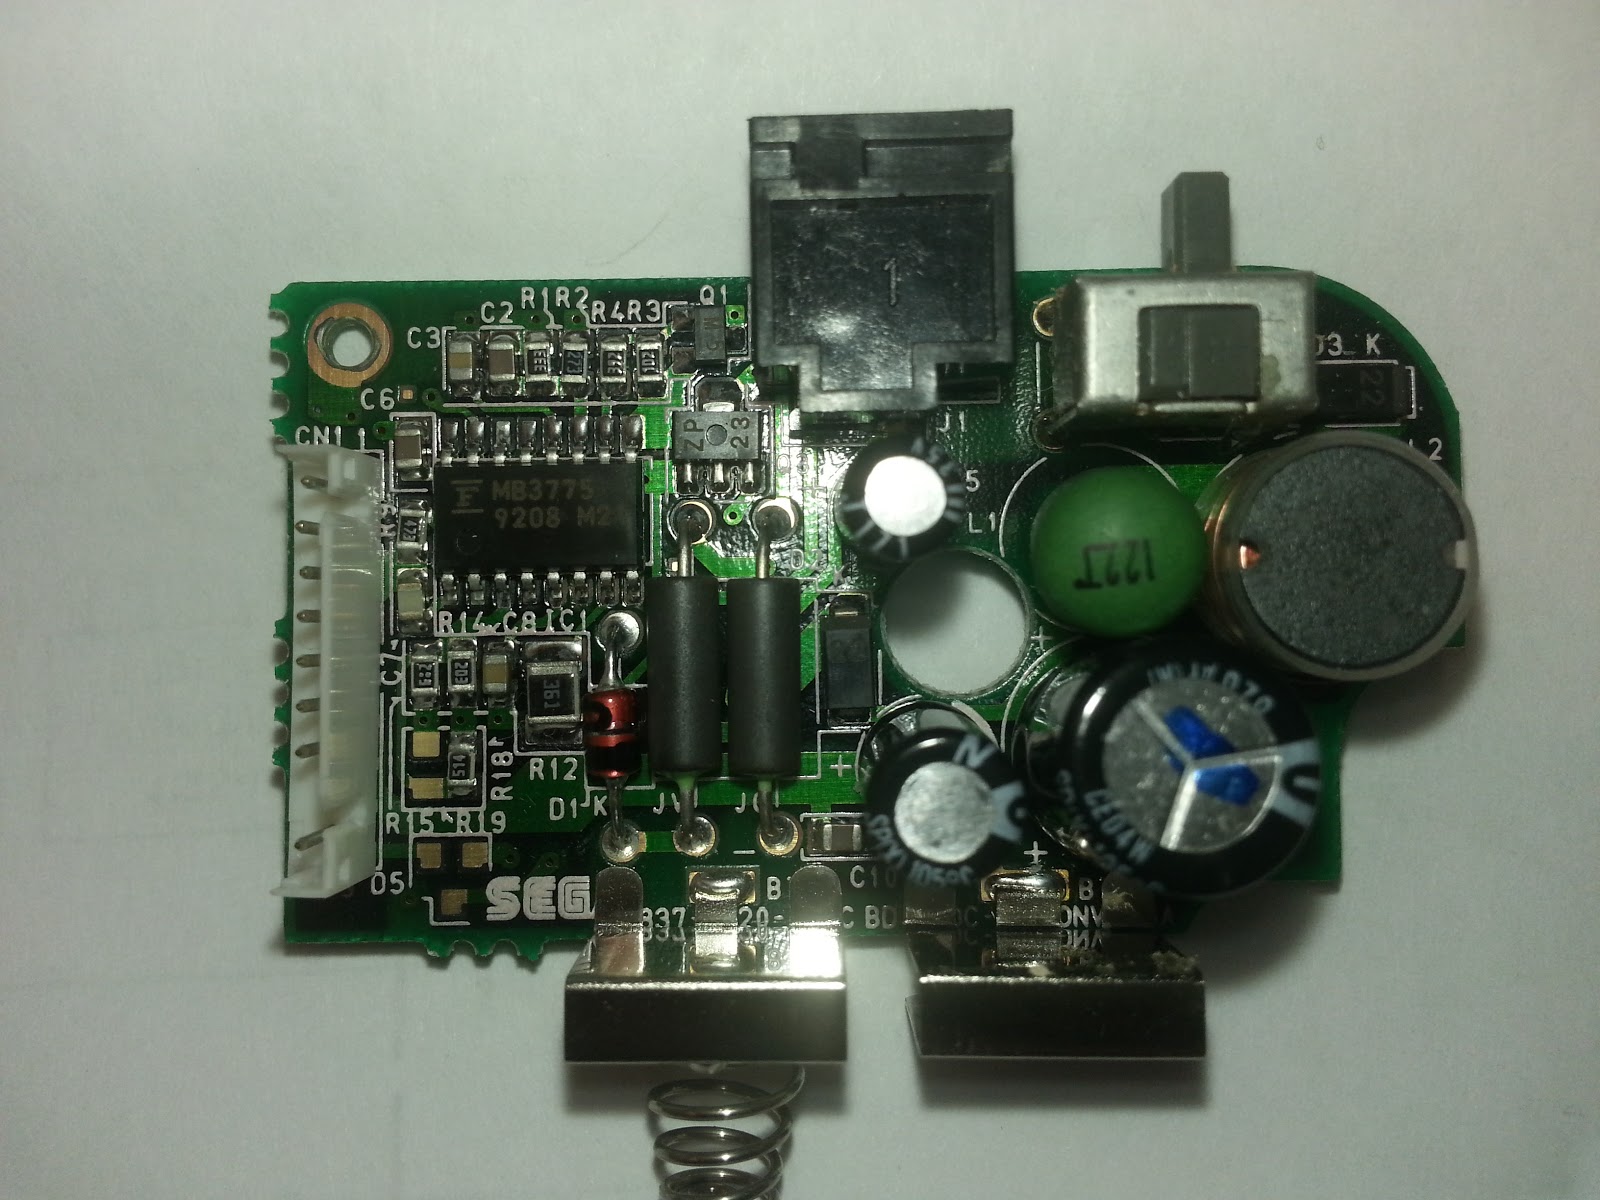 |
| Power board |
 | |||
| Main board broken into three pieces. |
 The next step was to fit the new LCD screen inside the chassis. I'm using a cheap 3.5" LCD monitor made for cars. I got it from ebay for $20. I like these screens because they are really cheap and run off of 12VDC. The specs on these screens are hard to come by and I need to do some testing on current consumption later. In order to fit the screen inside the chassis, the original screen mounts needed to be removed.
 I decided to leave the LCD inside its plastic case to protect the fragile flex jumper. The case doesn't add much to the size. It comes with a ball and socket type mount made for swiveling and I needed to remove it to save space. The screen is held in place with hot glue. The new screen is the same size as the original so the change is not that noticeable.
 Next I cut down the side pieces of the main board in order to save the original buttons. In the picture you can see the marks I made to trim it down. The same was done for the other side.


~Todd
No comments:
Post a Comment